A land that simmers
Take a bit in the hand: it must fragment without sticking. Also check the condition of the soil at the depth where you will work.
 Ceramyca
CHAPTER 10 / 23
All chaptersControl weeds, preserve soil structure and shape accessible raised beds before the mycelium arrives.
Start early enough to allow time for false seed and last adjustments before planting. Adapt the tillage to the condition of your plot.
In the Ceramyca route, the amendments are incorporated after tillage and before the final preparation of the terrain. Reasoning the organic and limestone inputs upstream avoids deep resuming an already ready plot.
Take a bit in the hand: it must fragment without sticking. Also check the condition of the soil at the depth where you will work.
A still modelable or sticky soil is too wet to be worked on. Let it be cleaned before the tools are passed.
STRUCTURE TO BE RESEARCHED
In the Ceramyca route, keep a log structure, with clots of the order of the size of an egg. The aim is to prepare a structured soil and a regular surface for implantation.
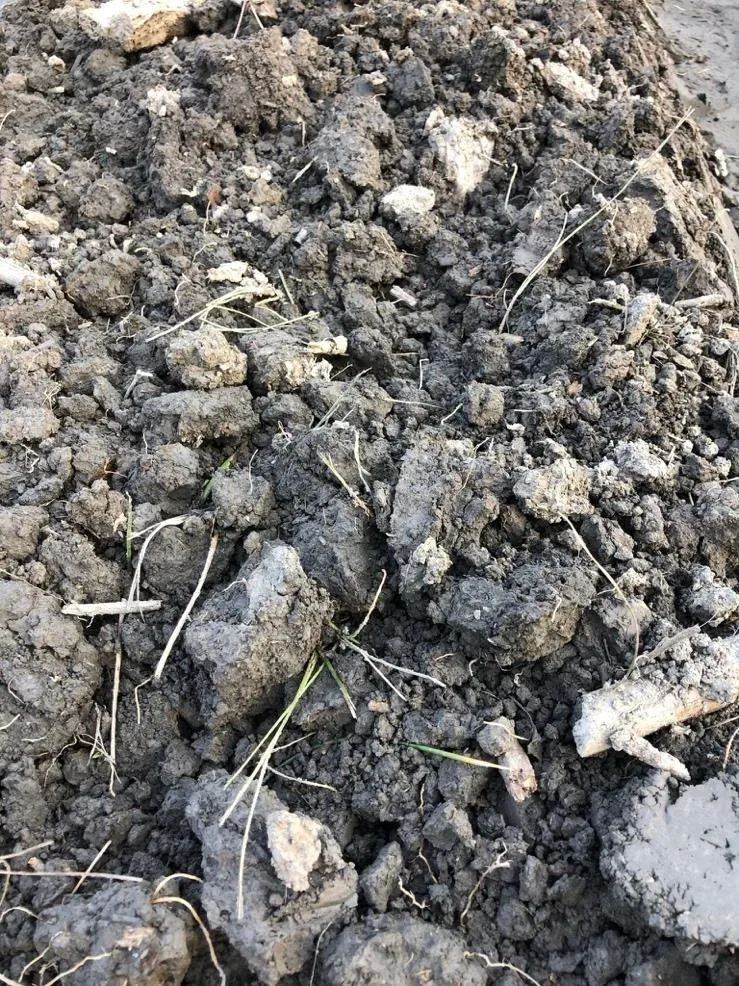
Adventitious weeds are the ones that can compete with cultivation. The false sowing consists of raising part of their seeds, then destroying the young sowing before installing the mycelium.
Work the soil superficially to promote the germination of the seeds present near the surface.
Wait for the young weeds to appear. It is they that are germinated, before sowing the mycelium.
Remove these young people raised by light mechanical work, in conditions favourable to drying up. Avoid bringing new buried seeds back to the surface.
On grassy land, plan several passages. This preparation pre-empts mycelium.
Form ground beds, as far as possible out of water, separated by aisles. Their width depends on your shelter and tools: it must allow you to follow the whole culture without walking in the beds.
Choose a width that allows to install the PODs, observe, water and harvest from the alleys. Adapt the passages to your tools.
Upgraded bed does not mean bumping on each POD. Once the containers are buried, re-level the bed surface.
Plan the beds inside your Flexible greenhouse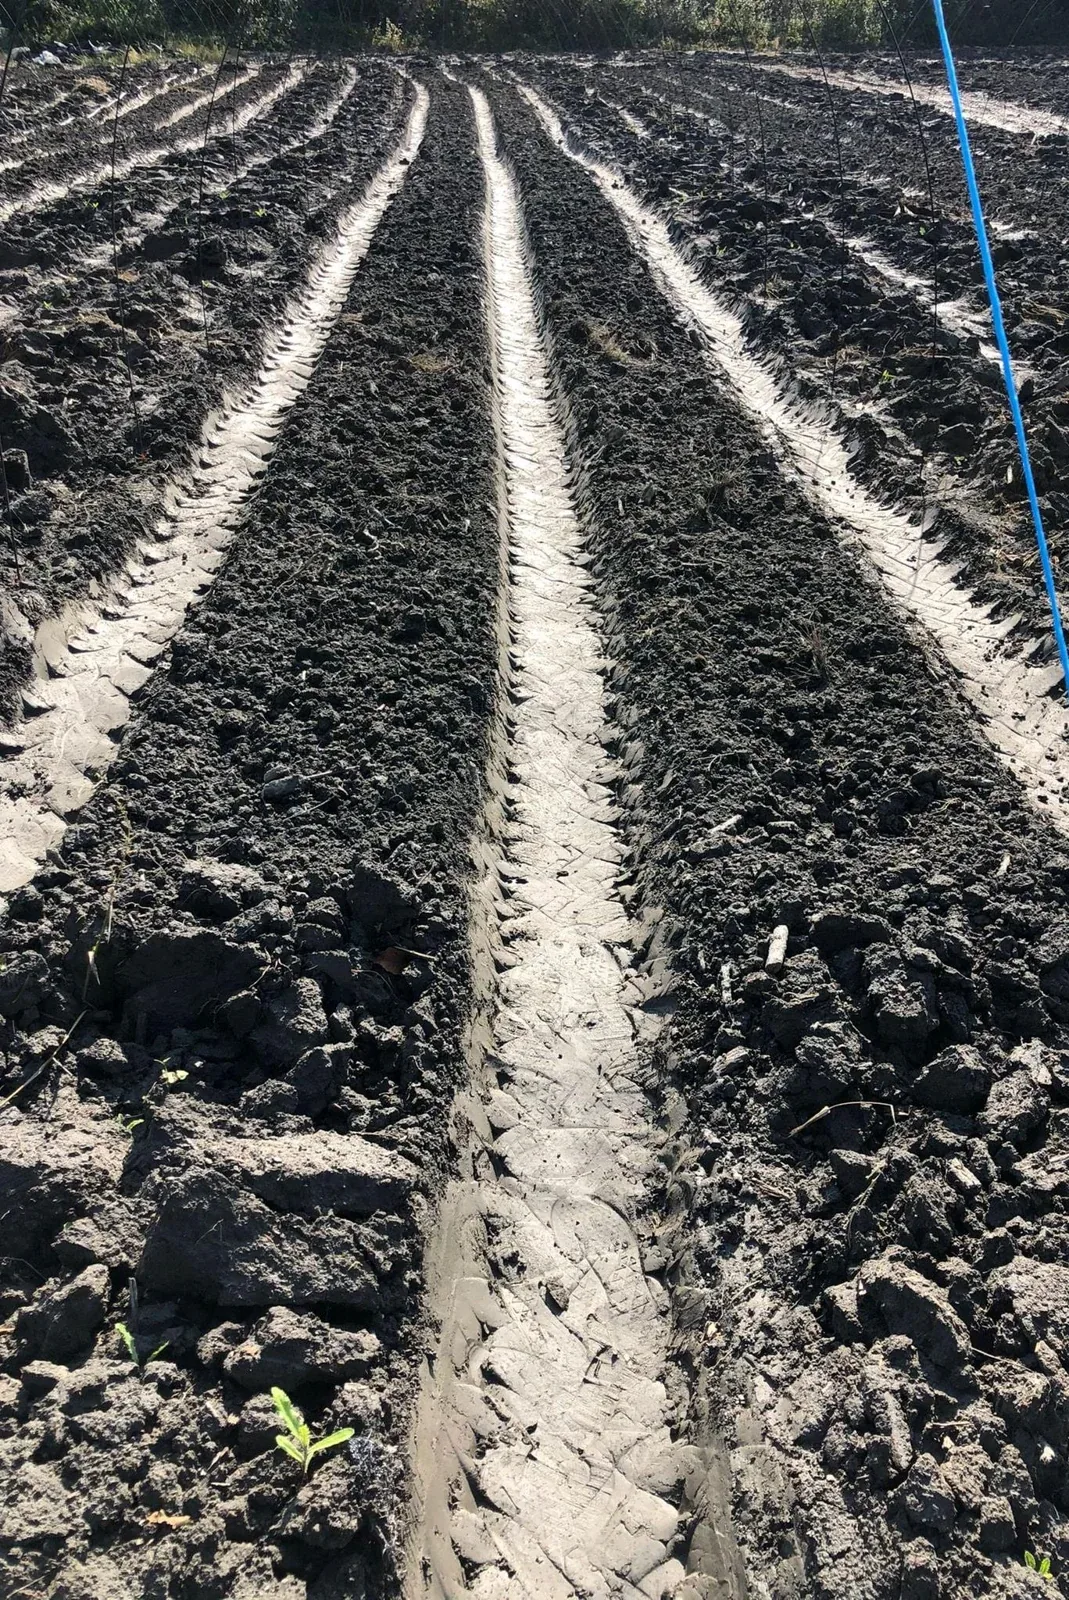
Soil preparation should be completed prior to implantation. Anticipate pest monitoring and watering organization so that you do not have to intervene heavily in an already installed crop.