3 beds
3 × 40 m · about 2.20 m high
About 100 m² cultivated · 400 PODs
beds of about 80 cm; microtractor and three-seater loader. Ceramyca
CHAPTER 06 / 23
All chaptersChoose your Flexible greenhouse model, lay out the site, erect the hoops and secure the shade net.
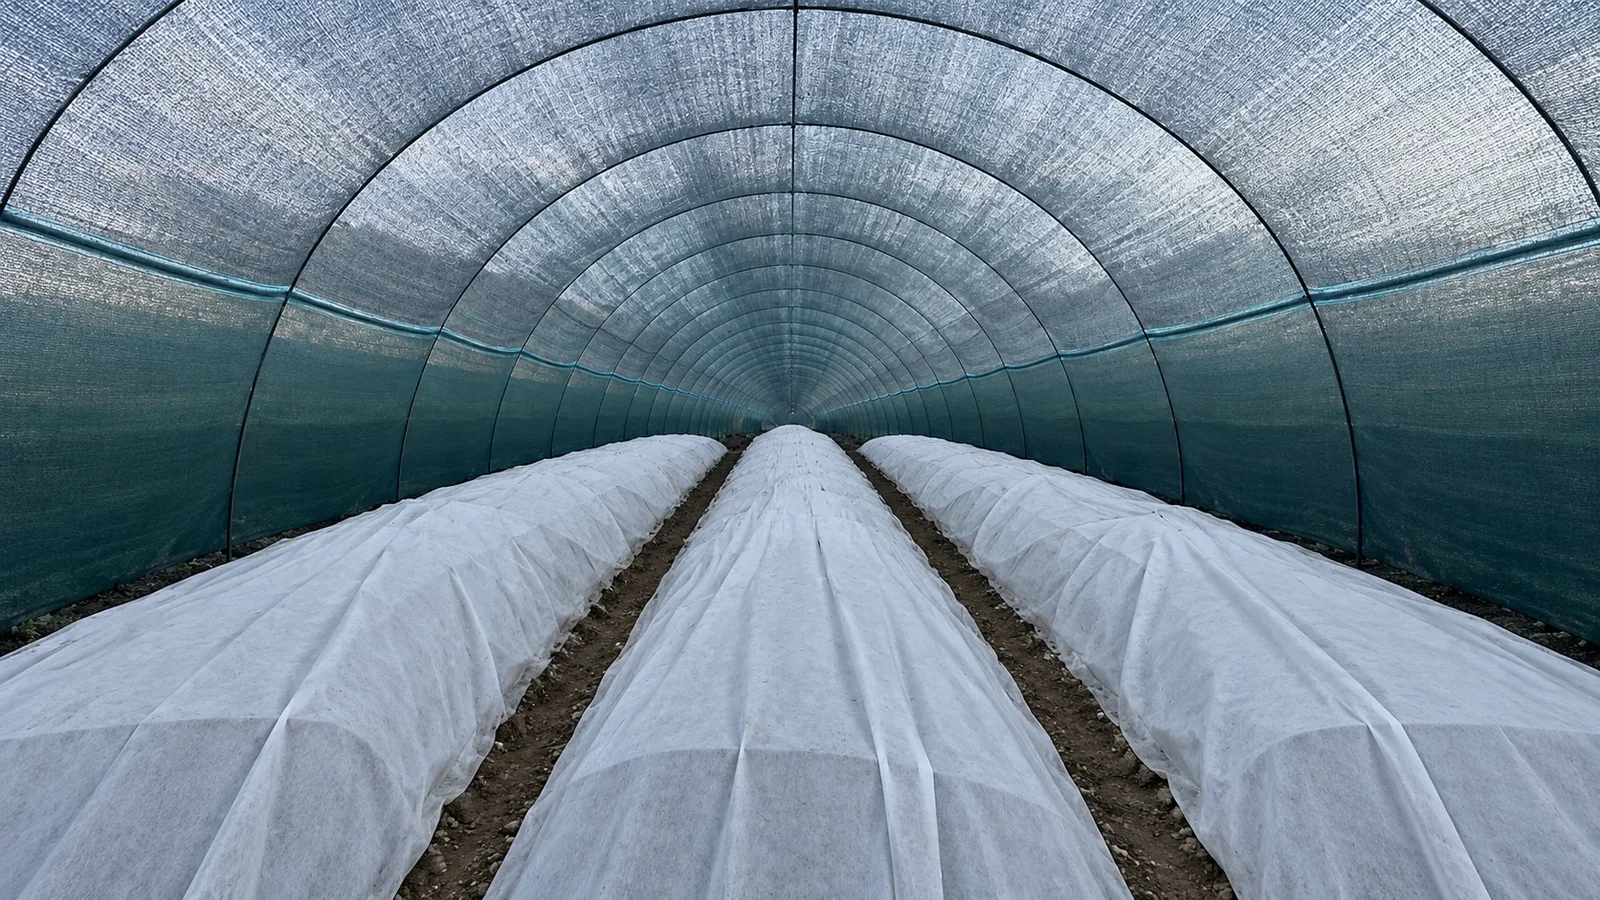
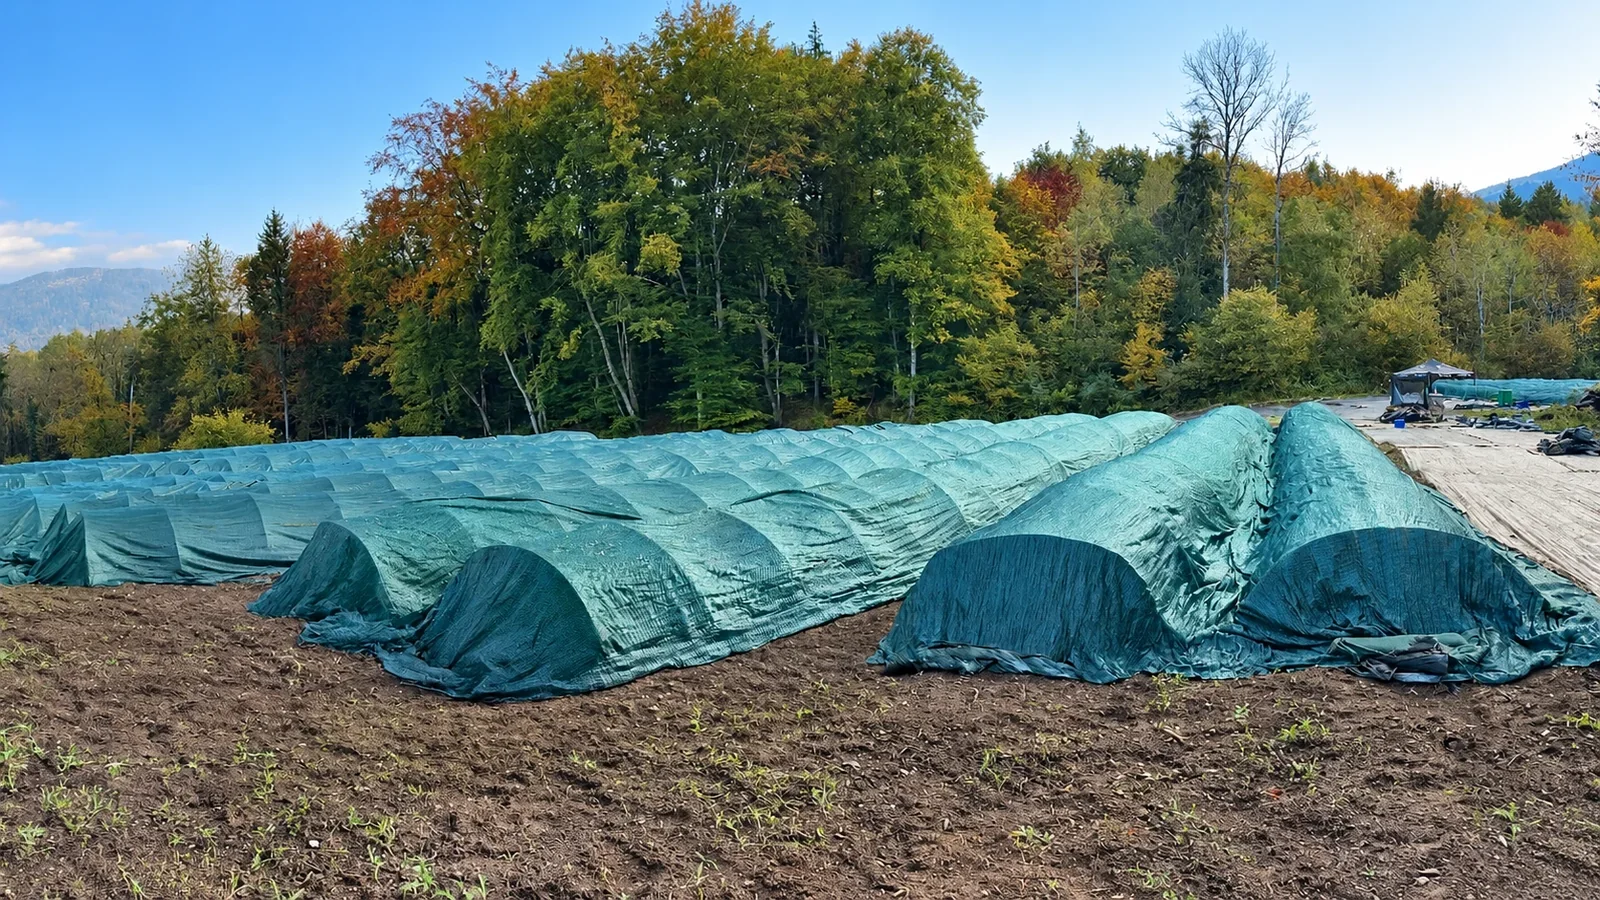
Two formats to organize your plot and move between the beds. Plan the passages according to your tools and your way of working.
The 3 × 40 m Flexible greenhouse occupies 120 m² on the ground, of which about 100 m² is cultivated. The cultivated area depends on the layout of the beds and passages.
3 × 40 m · about 2.20 m high
About 100 m² cultivated · 400 PODs
beds of about 80 cm; microtractor and three-seater loader.4 × 40 m · about 1.30 m high
About 125 m² cultivated · 600 PODs
beds of about 130 to 180 cm; two-seater vegetable farmer and loader tractor.Before assembly, draw the beds, the walkways and the alignment of the hoops. Then center the anchors on the axis of the greenhouse and screw them 3 m from the first and last arch.
TOP VIEW · INSTALLATION
Align the anchors on the central axis of the greenhouse, 3 m from each end.
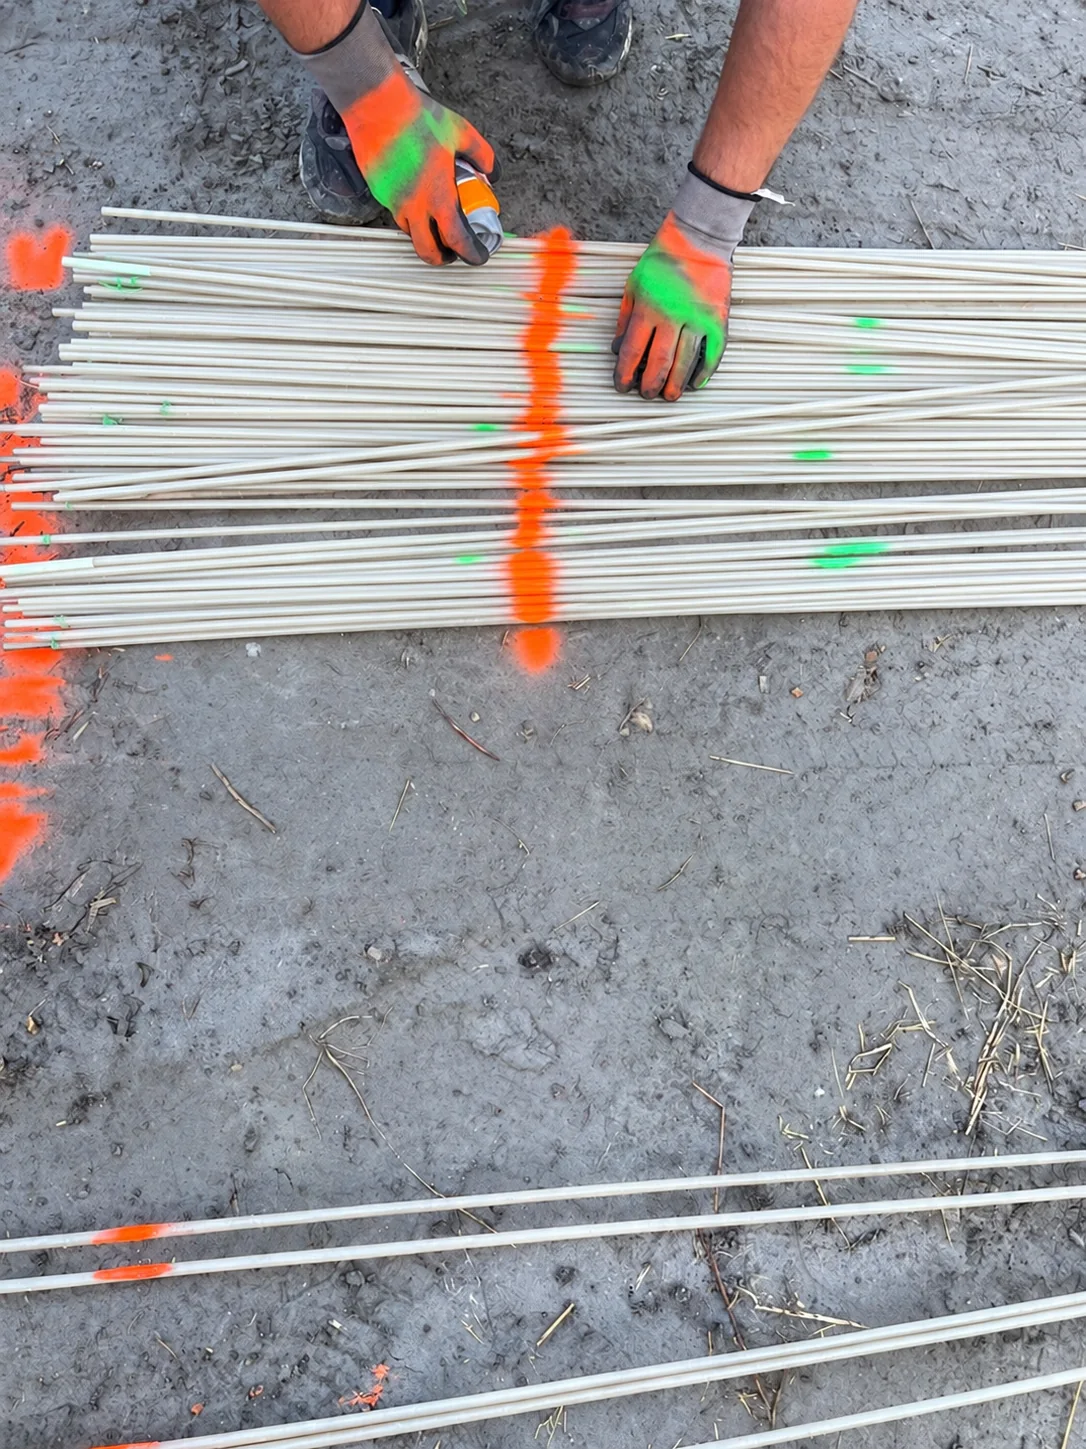
Assemble in dry weather. An arc combines four 1.75 m white rods and three aluminum fittings. Assemble them with Sikaflex 11 FC, according to its operating conditions.
Mark a reference point 50 cm from the ground on the legs with paint, then plant the large hoops every 75 cm. On the classic version, double the end hoops; this arrangement does not apply to the + version.
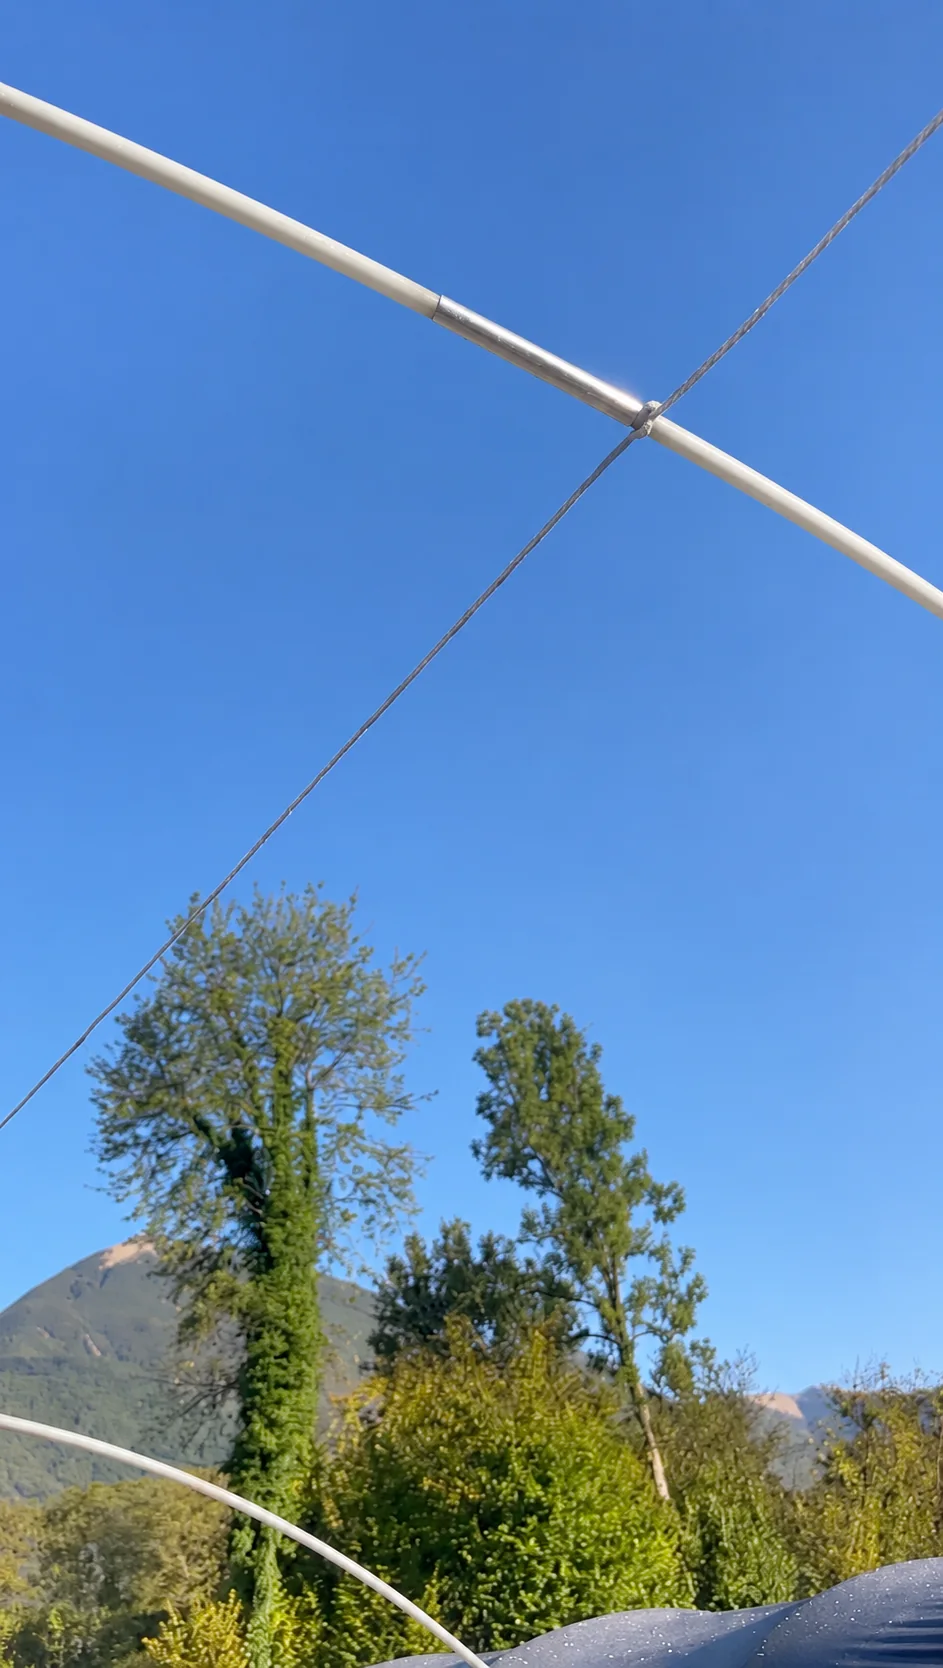
Connect the tops of the hoops with the main rope. Make a pulley knot on each arch, alternately on the left and then on the right of the aluminum connector.
Keep the rope taut between the anchors: one end remains fixed, the other must be able to be disassembled quickly. Check the tension again after placing the net.
See the video: assemble the ridge line
See the video: making the assembly knots
Deploy the perforated green mesh of 9 × 50 m on the structure. It filters the light while allowing air to circulate. Place its sides on the entire length with weights or soil.
Gather the net at each end. Connect it to the anchors, as well as the main line, with 9 mm Colson collars. Two interlocking collars constitute a fuse link: they do not replace either the anchor or wind monitoring.
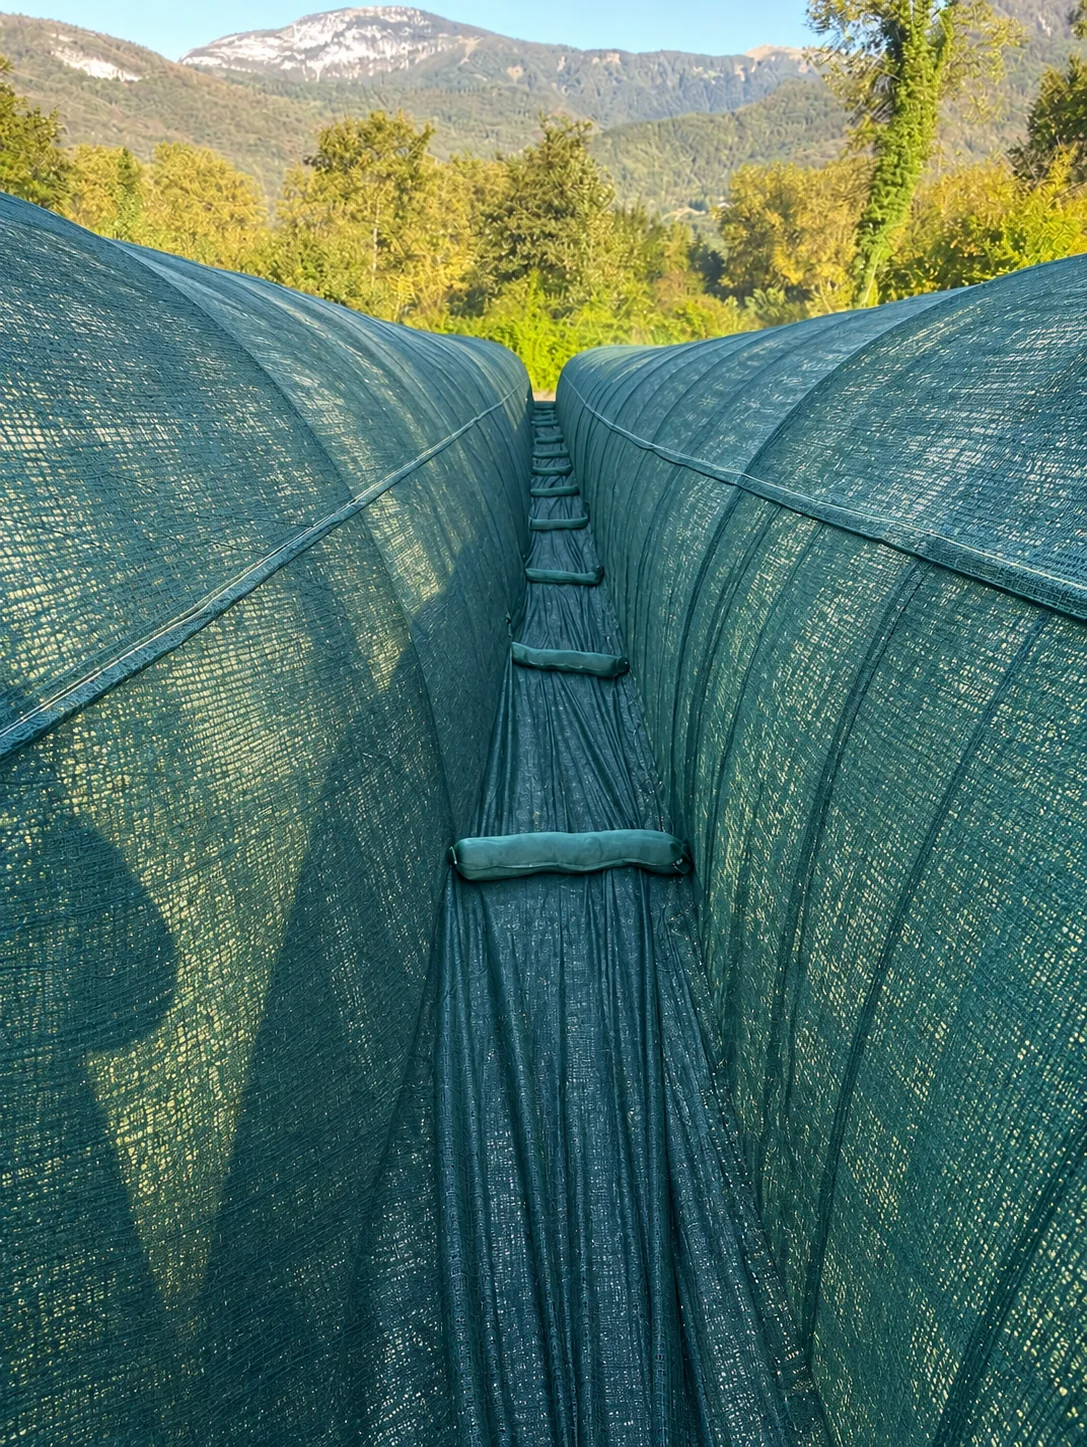
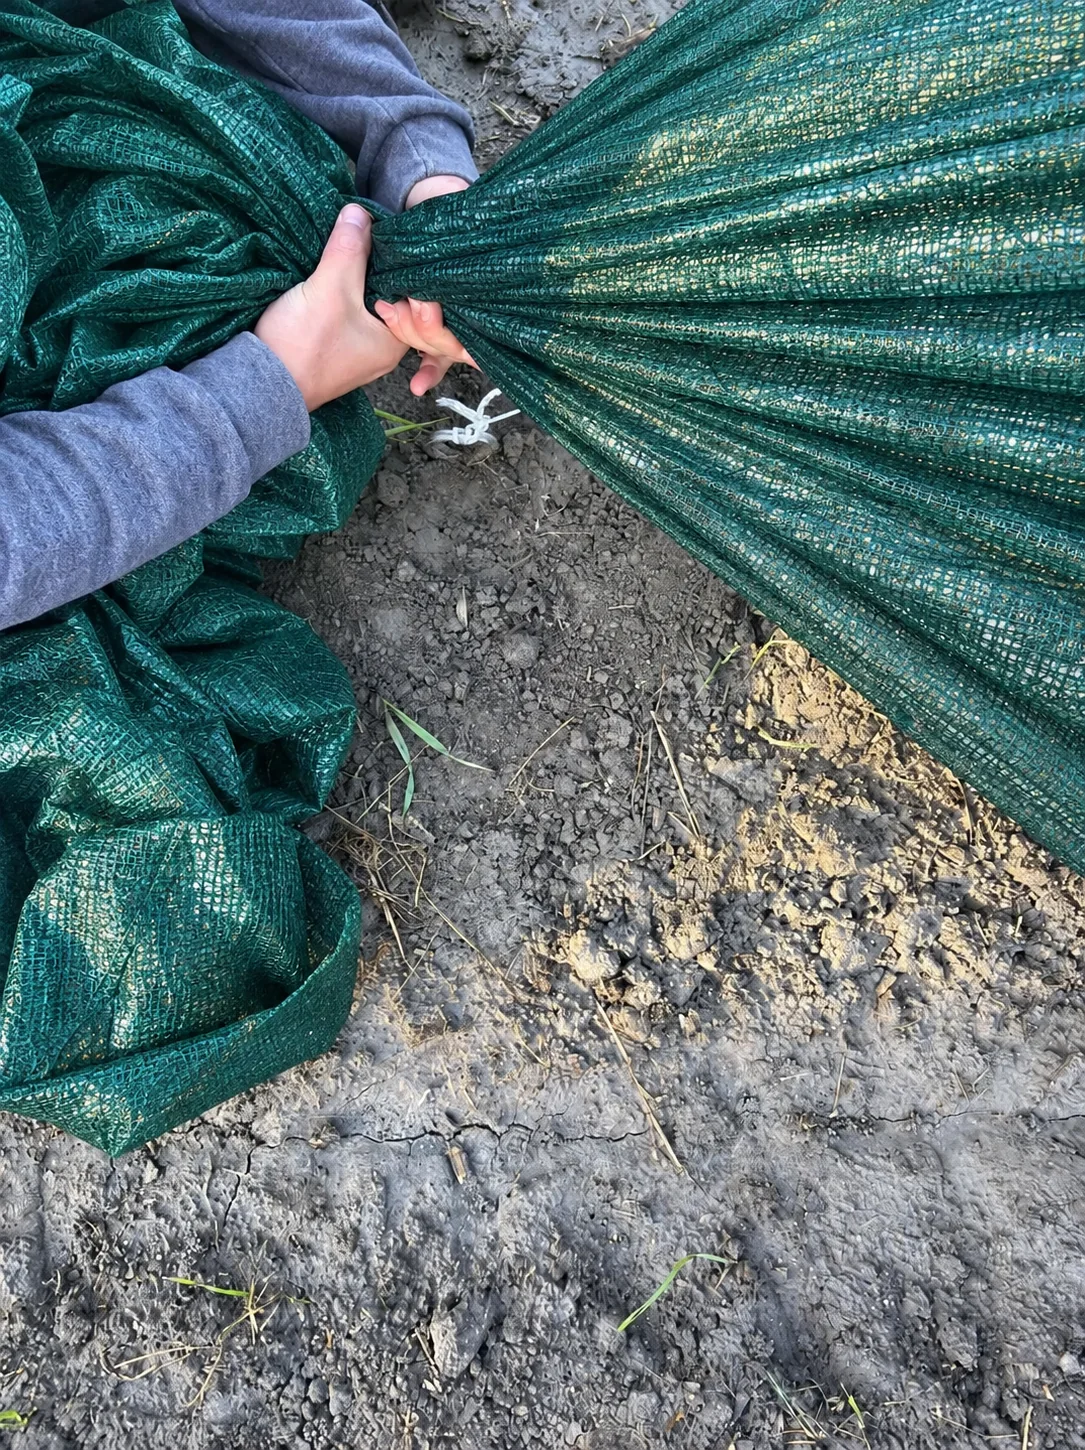
After installation, take one last look at the structure to check the anchors, the tension of the rope and the stability of the net. Then monitor the weather forecast.
WIND AND SNOW
The approximate location 70 km/h gusts Supposes a correct setup. If the forecasts exceed this threshold, lay the structure before the windy episode. Also anticipate snow loads.