SIZE
10–12 cmA harvest marker
Whole height, foot included, for a caliber of about 8 to 10 cm once cut. Cross this marker with the appearance of the morel; it varies with the species and conditions.
 Ceramyca
CHAPTER 22 / 23
All chaptersCheck each morel for maturity, choose a suitable picking window and preserve its quality through sorting and packing.
THE LAST STEP OF THE GROWING SEASON
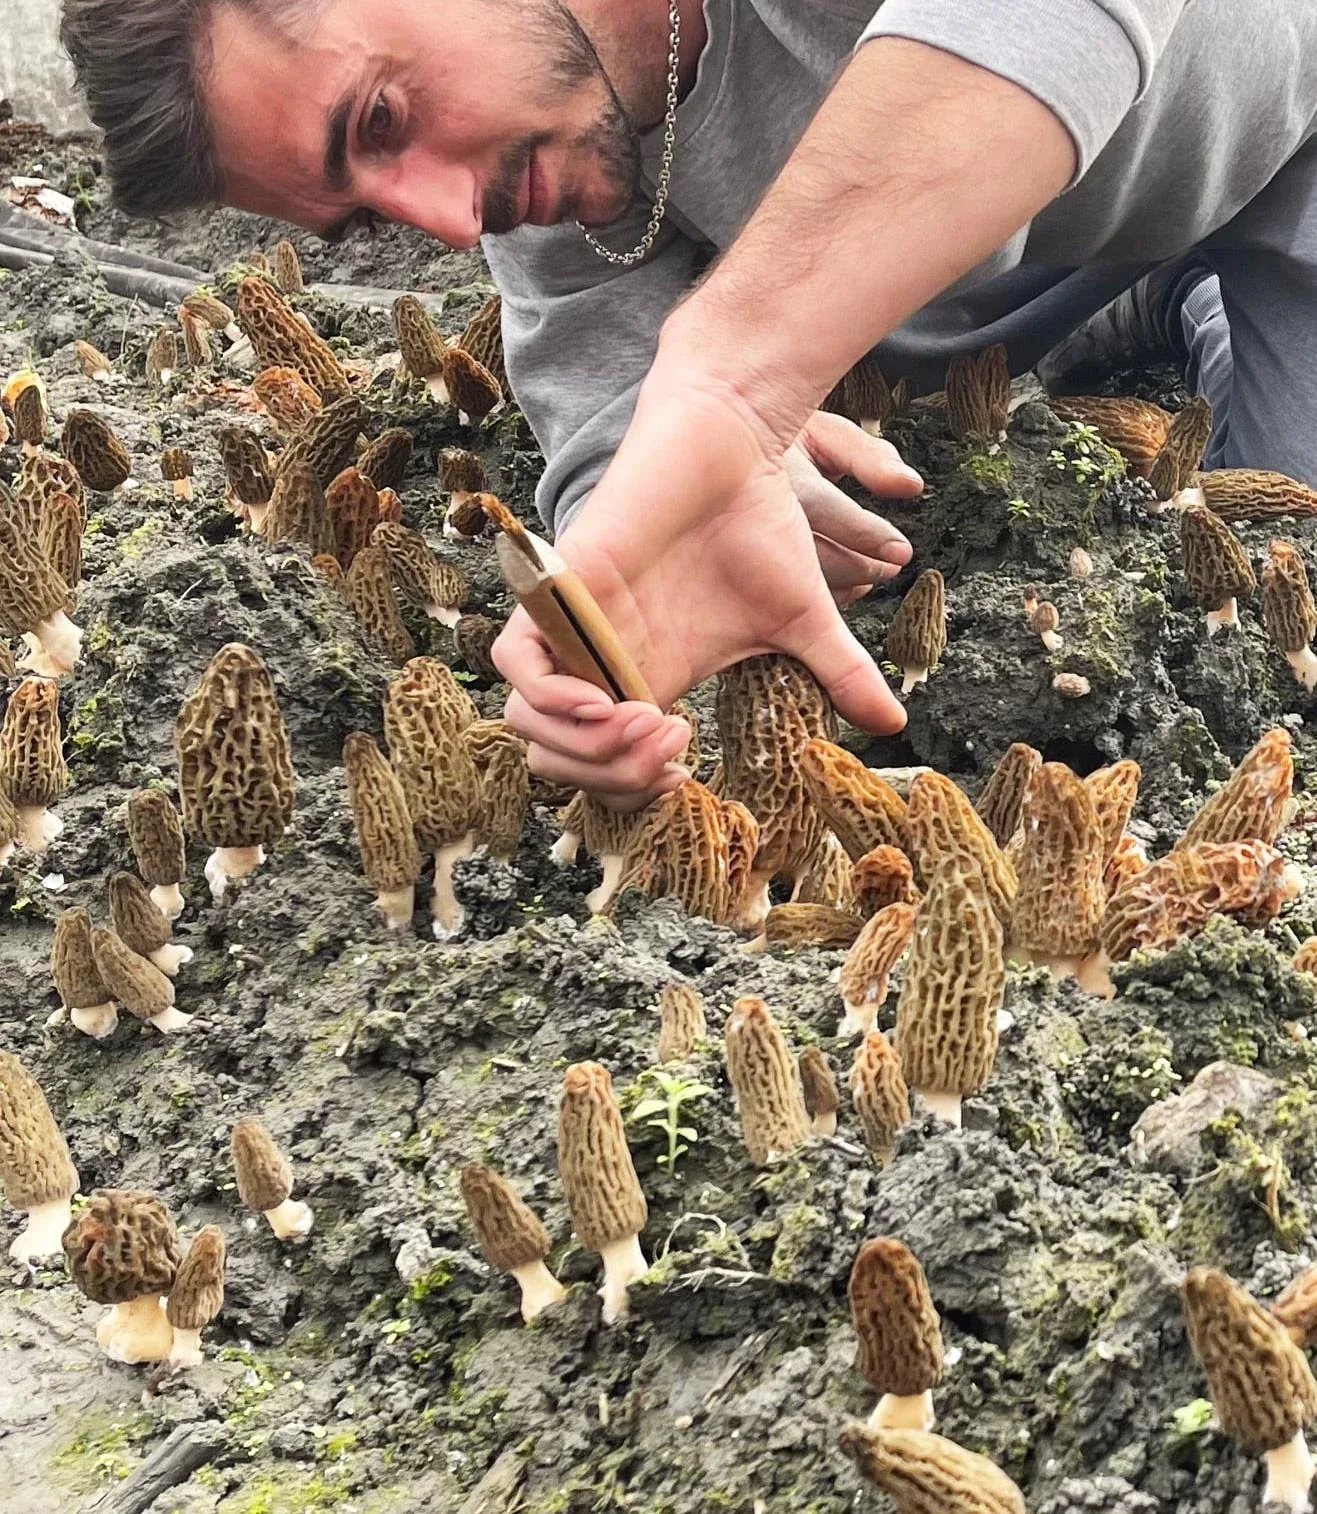
The size, the opening of the cells and the appearance of the foot look together. Collect the ready-made subjects as they develop, preserving the younger ones.
The morels of the same bed do not all mature at the same time. Observe them as they grow and select ready subjects, without waiting for the whole bed to reach the same caliber.
SIZE
10–12 cmWhole height, foot included, for a caliber of about 8 to 10 cm once cut. Cross this marker with the appearance of the morel; it varies with the species and conditions.
THE CAP
They're open in the swollen part of the hat. The tops can still be closed: there is no need to wait until they are all open.
THE STEM
Look at his color and the fabric hold. An altered foot or redness requires a separate examination before any conditioning.
A large morel is not necessarily a better morel. Look for the right growth stage, rather than a maximum size.
Prepare the containers before entering greenhouse and work since walkways to preserve bed. The holding of the morels and the surface drying after a water supply counts as much as the delicateness of the practices.
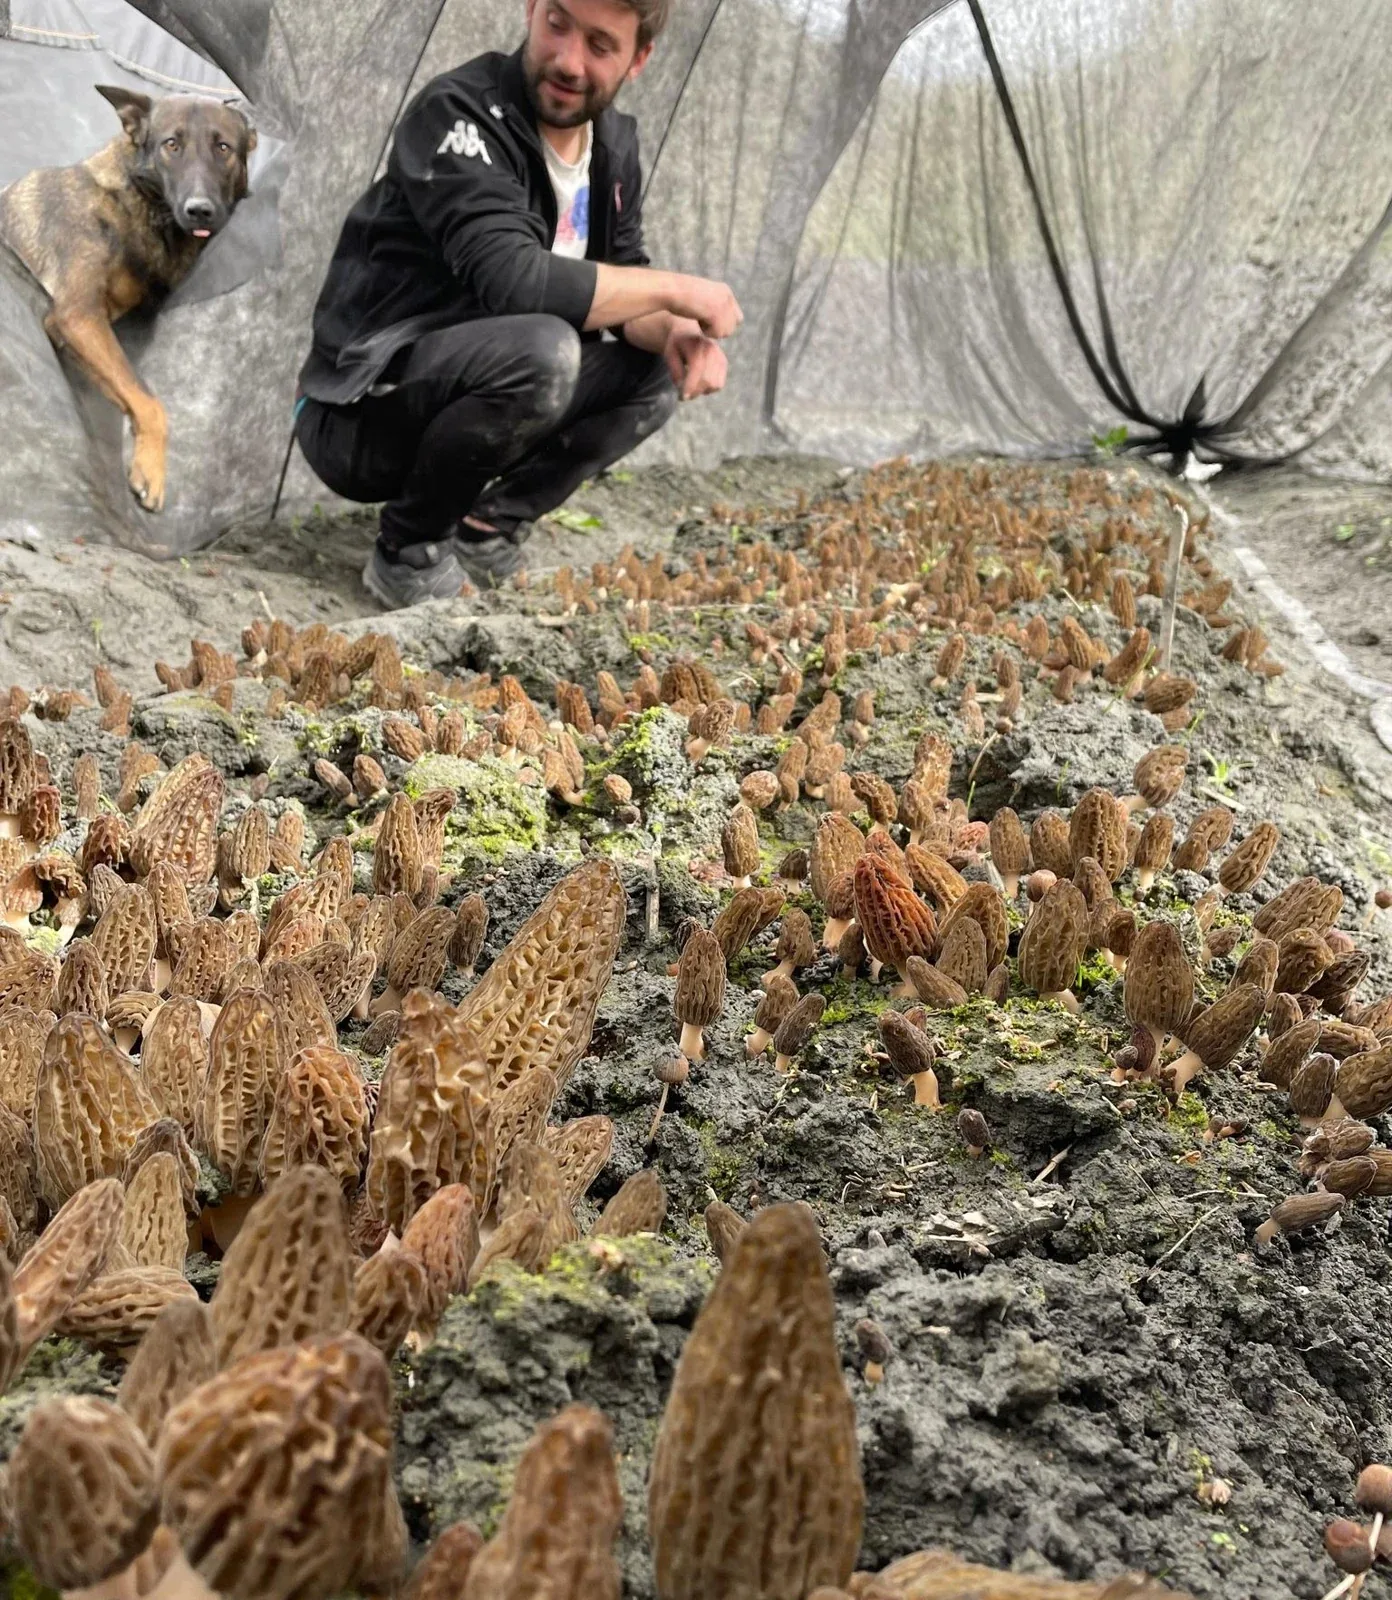
Avoid picking just after rain or watering. Of the morels sips of water are more fragile to handle and carry.
With a clean blade, cut your foot over the ground without tearing the moth. Avoid dragging soil into containers.
Handle the morels gently and place them in a clean container as they are done. Preserve the young emerging morels around your practices.
Once picked, the morels remain fragile. Sort them before packaging and limit the covers in hand. The aim is to keep people in good condition and protect them from shocks to their destination.
Adjust the size of the tray or cage to the volume collected. Limit the free space and slurry during transport, without compressing the morels.
Remove red, degraded or suspicious subjects from the delivery lot. An anomaly is documented and examined separately.
See diseases and symptoms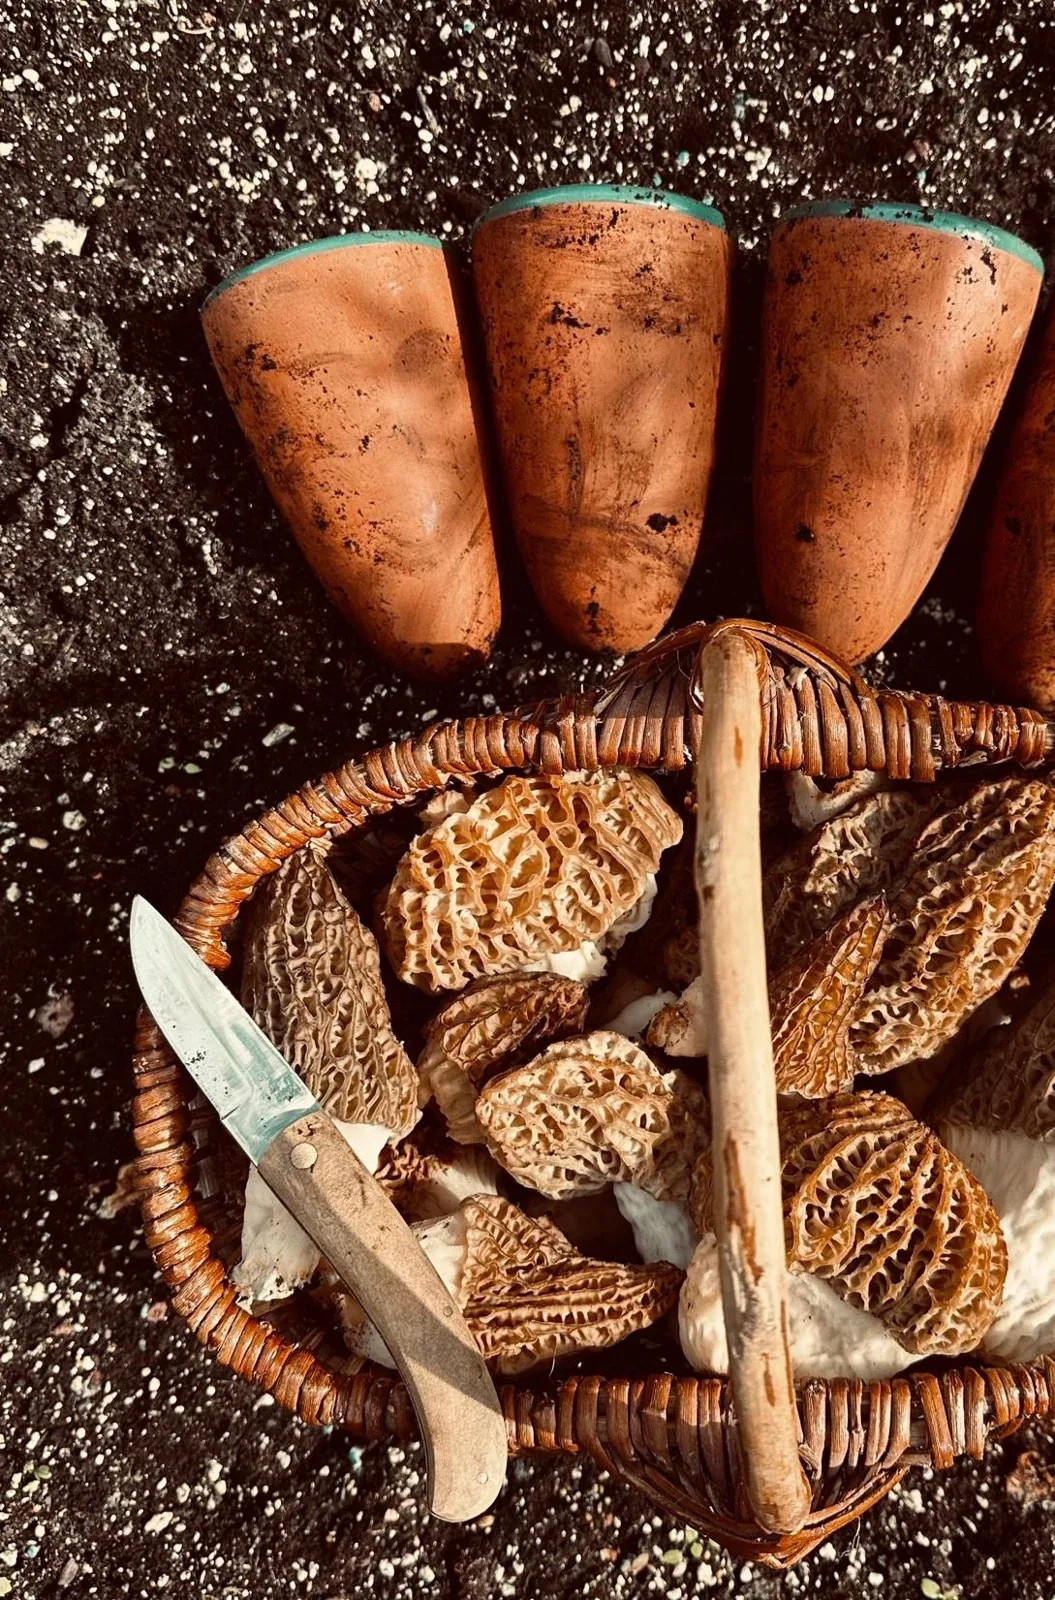
Limit handling and arrange a quick shipment or delivery after collection. Prepare the containers and route before harvesting.
Note your crops as they follow. A simple follow-up helps to compare beds and link results to driving choices, species and year-round conditions.
GESTES IN VIDEO
Harvesting the morels at the right stageWatch on Facebook