Stuff the earth well
Perform saturation watering before placing the PODs. The soil forms the starting reserve and then allows the humidification of ceramics by capillary.
Preparing for the installation of PODs Ceramyca
CHAPTER 13 / 23
All chaptersPlan the water supply, protect the mycelium and adjust irrigation as soil moisture and air humidity change through the growing season.
Anticipate the availability of water and its arrival on the plot before the installation of the PODs. Start with a well soaked soil, then adapt the inputs to the evolution of the culture.
An order of magnitude to anticipate the water resource. The cumulative volume is distributed over the crop and adjusted to climate, soil and shelter.
Perform saturation watering before placing the PODs. The soil forms the starting reserve and then allows the humidification of ceramics by capillary.
Preparing for the installation of PODsDuring the active spread of mycelium, avoid direct watering of the surface. Orient the inputs towards the aisles so that the water gains the beds by capillaryness.
Observe myceliumPrefer the capillary for this fragile phase. The transition to direct watering depends on the stage of cultivation and your installation.
Follow the onset of fruitingIn the tall Flexible greenhouse with three growing beds, lay a RainSystem line on the ground in each of the two paths. Run both lines the full length of the greenhouse.
The microperforated ribbon distributes water through a multitude of fine jets. It allows a rain intake; direct it towards the aisles to feed the beds by capillary during fragile phases.
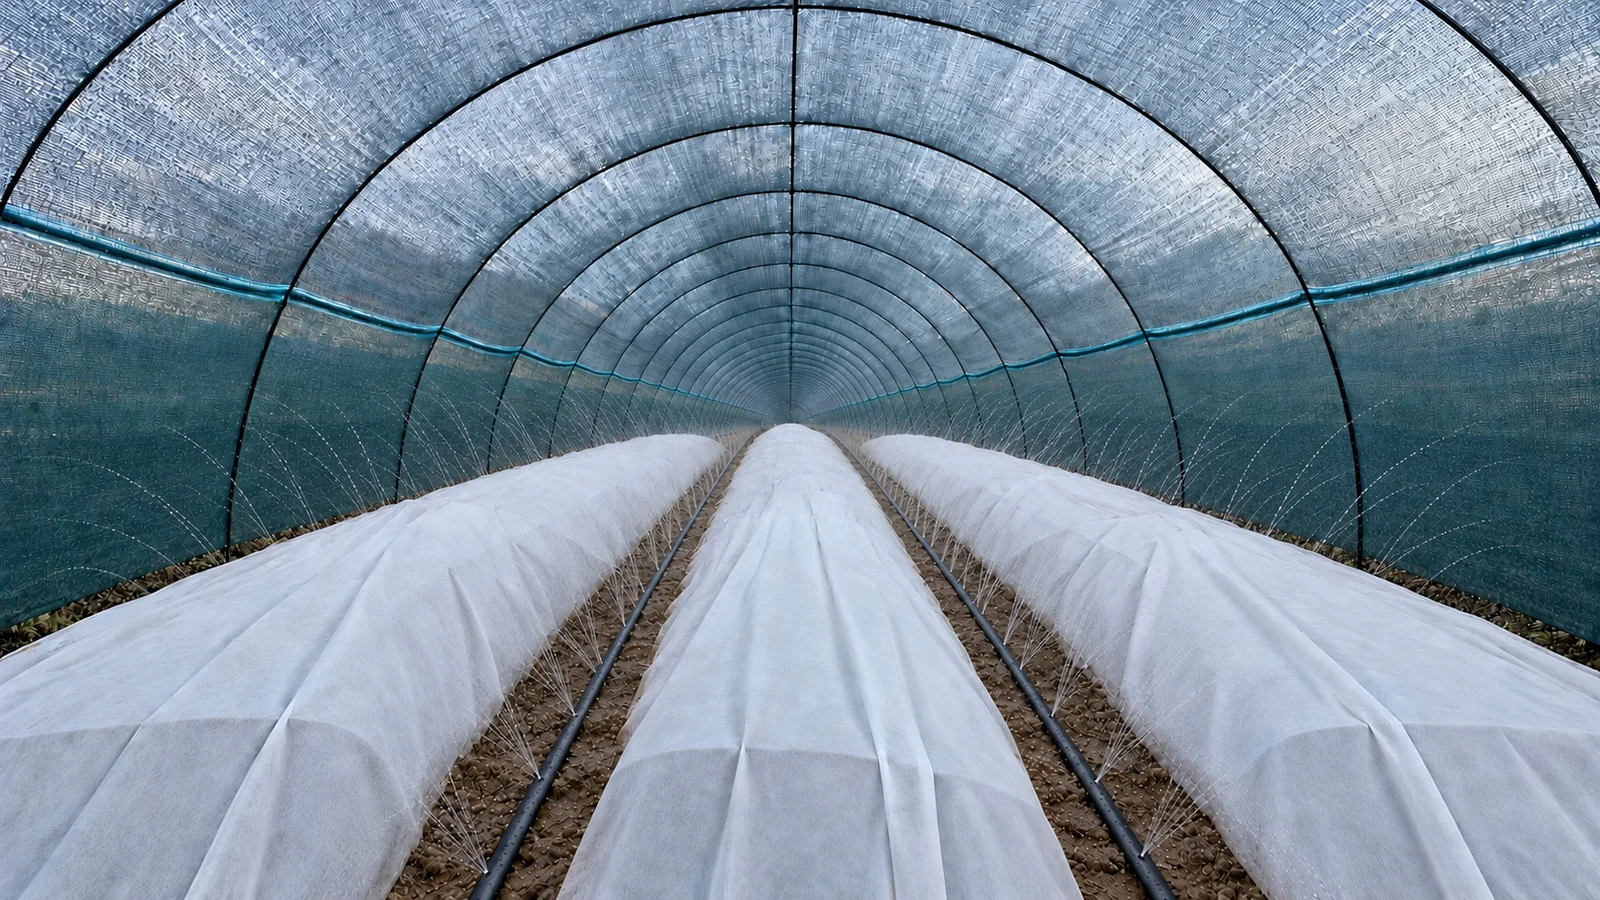
Two lines of 40 m represent 80 m of ribbon. On the basis of 1.55 m³/h for 10 m, this corresponds to 12.4 m³/h, or about 207 L/min: therefore, count an order of magnitude of 200 L/min at full flow.
Provide a power supply capable of serving both lines simultaneously. The flow rate available at the installation depends on the pressure and loss of load.
ESTIMATION FROM THE REFERENCE DEBIT
The calculation uses 1.55 m³/h for 10 m of tape. It helps to read a volume; the opening time remains to be decided according to soil moisture and the stage of cultivation.
Add lines: 2 × 40 m = 80 m.
A time for calculation, not a watering recommendation.
for 1 min of watering
The actual flow rate varies with pressure and load losses. Check the flow rate available at your installation before deducting the volume actually brought.
Cross the field observations and measurements: a humid atmosphere does not provide information on water available in the bed alone. Weenat tracking can be shared with Ceramyca on request to accompany the driving distance.
The tensiometer helps to monitor the water condition of beds and the effect of watering. Observe the evolution of measurements, with the state of the surface.
Follow the temperature and hygrometry near the culture. Air and soil moisture provide additional information.
To intervene before the dry crust. With the drip, water diffusion does not instantly rehumidify an already dried surface. Anticipate inputs by crossing measurements and field observation.