PODs JARDIN
Nutrition is already integrated
The POD garden is autonomous for nutrition. Exogenous cereal bags are not necessary for their operation.
Understanding both formats Ceramyca
CHAPTER 16 / 23
All chaptersLearn when the mycelium is ready to reach a grain bag and how two PODs PRO share that supplemental food reserve.
The additional nutrition depends on the format of POD you grow. Identify your itinerary before preparing the bags.
PODs JARDIN
The POD garden is autonomous for nutrition. Exogenous cereal bags are not necessary for their operation.
Understanding both formatsPODs PRO
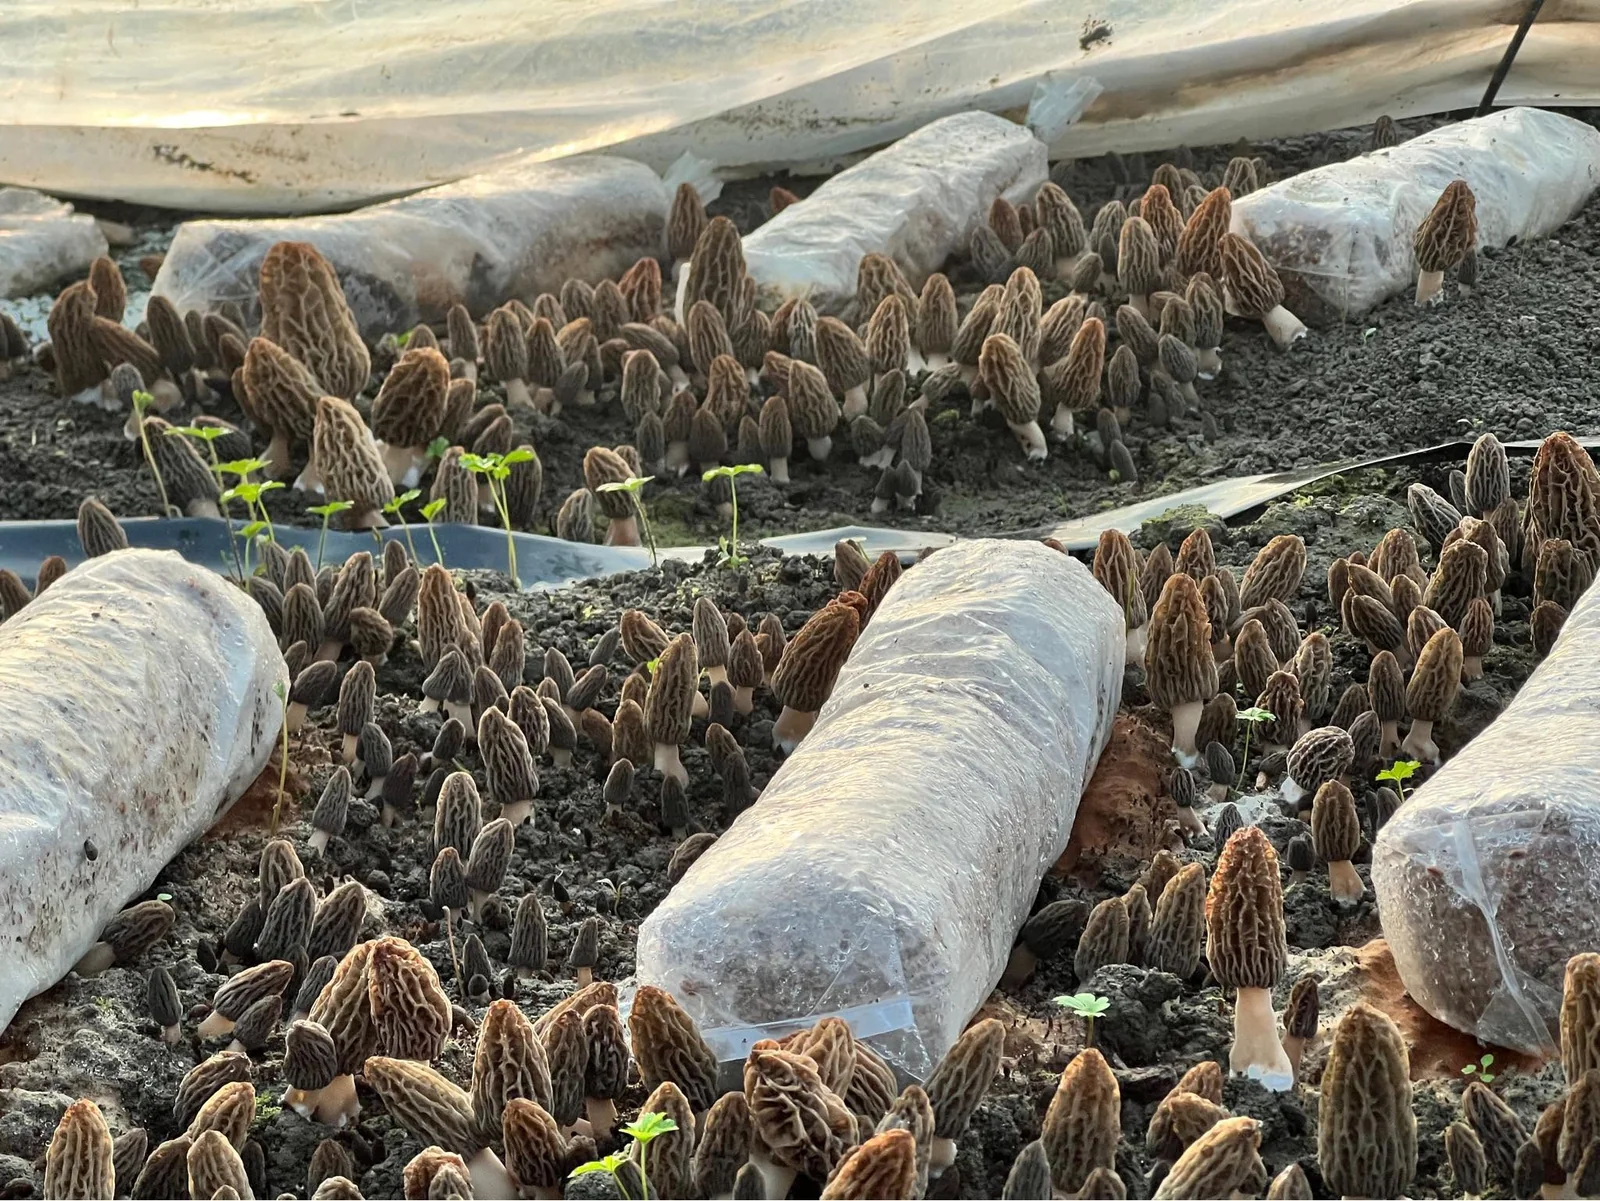
The PRO route uses sterilized cereal bags. One 3 liters bag dessert two PODs, by contact with their mycelium.
Solutions for professionalsFor the PODs PRO, nutrition occurs between 7 and 15 days after the PODs have been installed, when the spreading patches reaches 10 cm in diameter. Observe each point of culture to prepare a connection to mycelium contact.
Check mycelium development around each of the two PODs. This is the colonized area that the openings of the bag must encounter.
Lay the bag diagonally across the staggered rows, a span of about 40 cm, with one end on each colonized area. Make both openings on the side that will face the soil.
Position the bag between two neighboring, diagonally offset PRO PODs. Each end should reach a patch of well-established mycelium.
Turn the bag over to expose the soil-facing side. At each end, make an opening the size of a two-euro coin. A windproof lighter can be used for this step. Keep it away from flammable materials.
Put the bag back in place: each opening must be directly in contact with a spreading patches. It is through these contacts that the mycelium reaches the cereals.
Before you go to the following bag: Two openings to the ground, two effective contacts with the mycelium.
Once contacts are established, mycelium colonizes cereals and drains carbohydrates into sclerotia. The nutrient source remains localized in the bag, while the mycelium develops in the surrounding soil.
PREPARING SACS
Find the cereal preparation, self-claving and closure of bags. Let them cool before connecting to the PODs.
Follow the methodBEFORE THE POSITION
Keep the bags cool and safe from rodents and other animals. The openings are ready just before the connection to the bed.
Conservation adviceGESTES IN VIDEO
Install PODs and connect nutritionWatch on Facebook