IN THE GARDEN
An installation to your scale
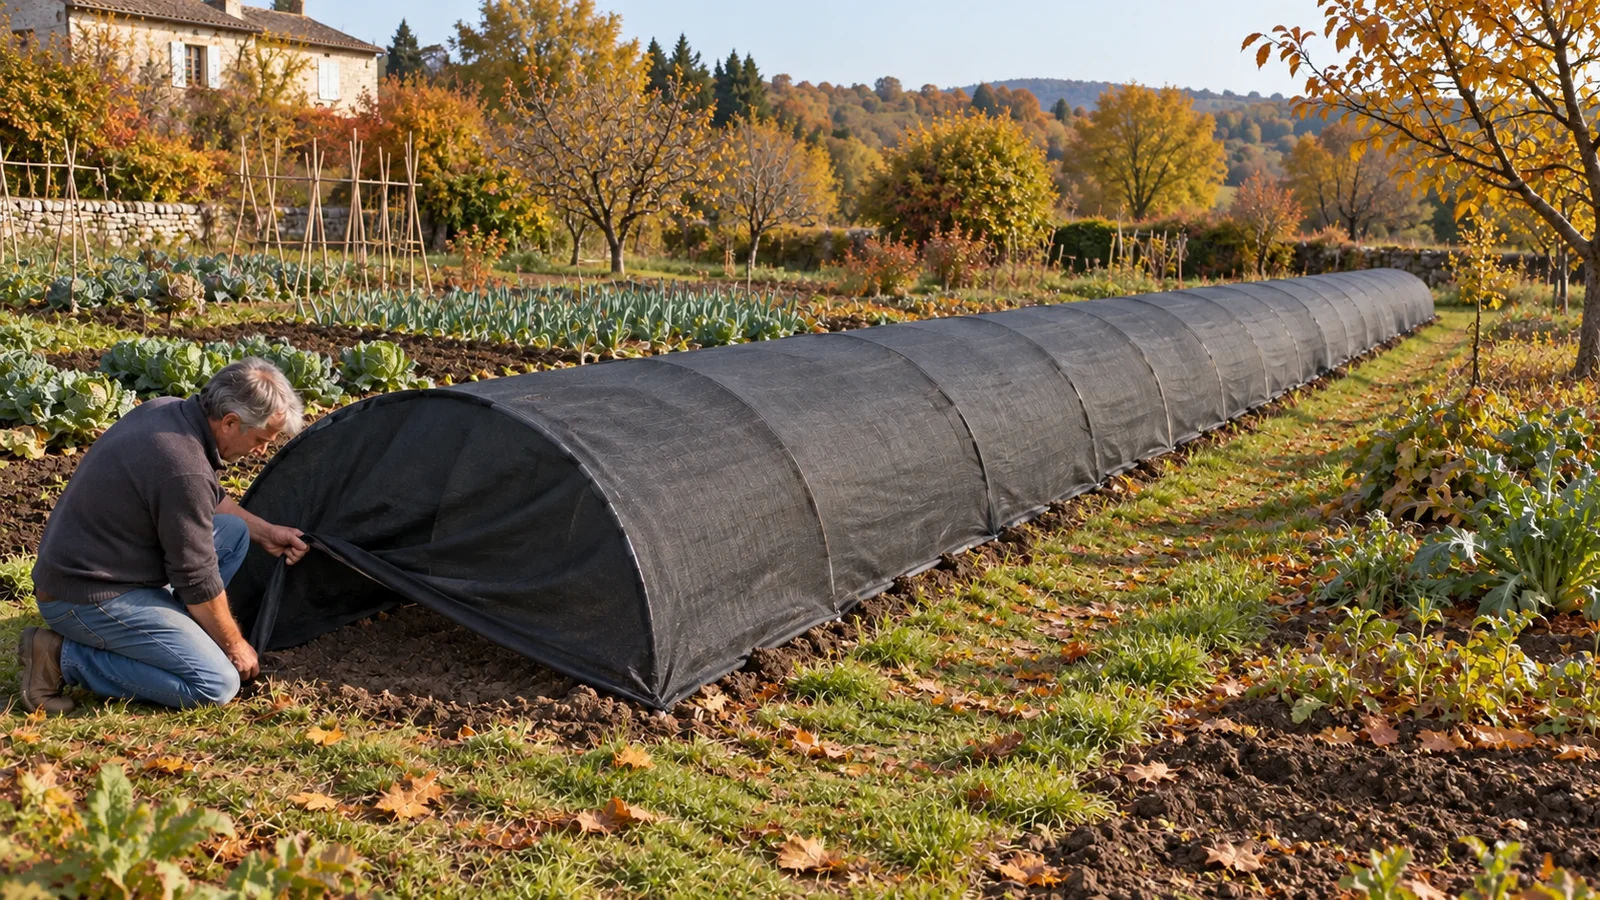
Choose a shelter that leaves room to water and tend the bed. The 3-POD garden kit has a mini greenhouse. The 50-POD Grower Pack comes with a flexible greenhouse.
 Ceramyca
CHAPTER 04 / 23
All chaptersChoose shelter and water systems and decide where to take measurements before your mycelium arrives.
The right installation depends on your surface and your way of growing. In any case, keep access to the beds to observe and intervene without stepping on the growing area.
IN THE GARDEN
Choose a shelter that leaves room to water and tend the bed. The 3-POD garden kit has a mini greenhouse. The 50-POD Grower Pack comes with a flexible greenhouse.
IN CROP PRODUCTION
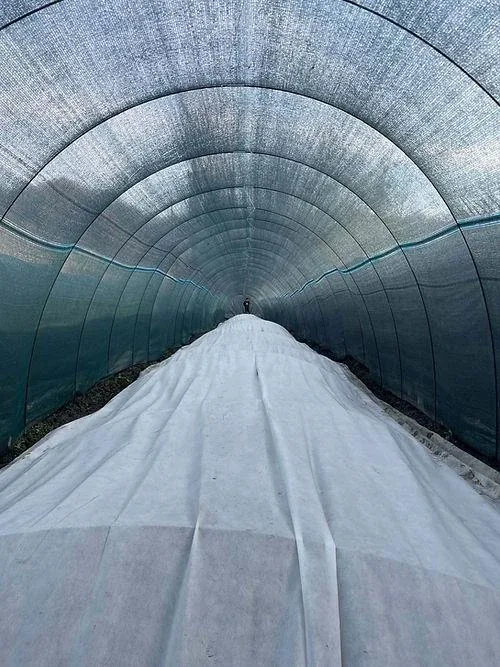
Choose a shelter adapted to the surface, the beds and the circulations. Provide its irrigation and the ground-close protections.
Install a Flexible greenhouseMake sure you have suitable water and a way to regularly water the entire surface.
WATER AVAILABLE IN THE ENTIRE AREA
In the garden, provide a watering can or a hose equipped to distribute the water. On a larger surface, size the inlet and the irrigation system to cover the beds. Adapt the practices to the stage of cultivation and avoid jets that degrade the surface.
The RainSystem is a solution for installations equipped: its tapes are placed in the footpaths and their orientation adapts to the growing phase.
Understanding irrigation and the RainSystemThe temperatures of the air and the ground do not tell the same thing. Measure near the crop to make your decisions at the right time.
TWO MEASURES · TWO DECISIONS
An adapted thermometer allows to distinguish the air near the crop and the soil in depth.
At 10 cm above the ground, at the hottest time of the day. For the autumn cycle, the sowing point is 18 °C below.
At 10 cm of depth, in the morning. The reference point depends on the species cultivated.
Monitor humidity and keep track of references. Observe the moisture of the soil and note the temperatures and watering. Connected monitoring can facilitate this observation throughout the season.
MONITOR YOUR CROP WITH WEENAT
Temperature, air humidity and soil water content: monitoring these data over time helps to observe the evolution of the crop and to reason about irrigation.
IN THE AIR
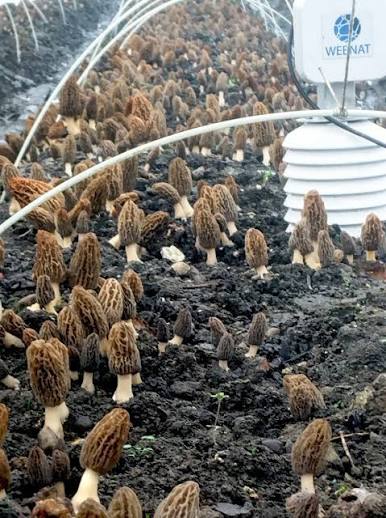
Temperature and humidity are measured as closely as possible to the crop. The slatted shelter limits the influence of direct radiation on the measurements while allowing air to circulate.
Installation: Simply place the station on the growing beds, in a representative and stable area.
IN THE FLOOR
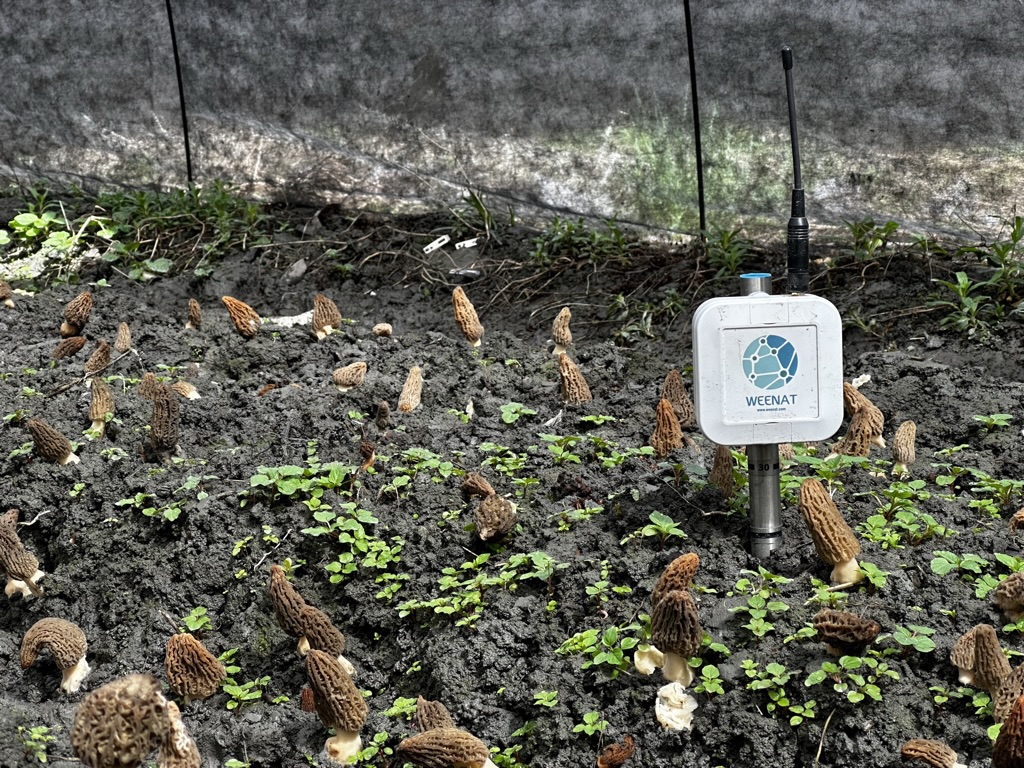
It follows the water tension in the soil and its temperature. The evolution of the measurements helps to assess the water status of the bed and the effect of the irrigation.
Installation: Place the measurement end at 15 cm of depth In the growing beds.
INSTALL THE TENSIONMETER PROPERLY
For the thresholds for starting fruiting in the guide, continue to measure the soil temperature at 10 cm depth.
IN VIDEO · 7 MIN 49
Discover in pictures how to use Weenat to track the data of your crop.
THE FOLLOW-UP WITH CERAMYCA
Choose the Weenat Expert package To access the data from the tensiometer. Then contact the Weenat team to request connection to the Ceramyca network: this connection is Without extra cost And allows Ceramyca guides to access your crop data.
The Weenat Expert package is a separate subscription; ask Weenat for its conditions.
Protect the crop from heavy rain and wind, while maintaining air circulation adapted to the conditions.
Shade and weather protection accompany the cycle. Depending on the installation, their arrangement and use change throughout the seasons: monitor the heat and humidity under the shelter.
Gather your references before receiving the mycelium and setting up the PODs.
BEFORE YOU START
Location. A suitable area, with access to the beds.
Shelter. A structure and protections adapted to the surface.
water. A resource available and a way to distribute watering.
measure. A thermometer for air and soil, and monitoring of moisture.
Before receipt. Check the material provided with your offer and complete if necessary.