Formed reserves
The evolution of colonized areas and the reserving of sclerotia is observed following incubation.
Read the signs of maturation Ceramyca
CHAPTER 19 / 23
All chaptersObserve food reserves, measure soil temperature and adjust the covers as the plot approaches fruiting.
The preparation of fruiting links the state of the crop to the evolution of the season. Find the available sclerotia, a thermal evolution adapted to the species and light, also following humidity.
The evolution of colonized areas and the reserving of sclerotia is observed following incubation.
Read the signs of maturationTrack soil temperature and how it changes for your species, alongside moisture levels and the condition of the crop.
See measurement benchmarksPrepare shade and protections to restore an environment compatible with the first shoots.
Adapt coversRaise the temperature in the morning, 10 cm deep. Follow its evolution and the conditions of the plot to prepare the continuation of the itinerary.
PRINTARY RECOLENT DEBUT REPRESENTATIONS
These values concern: soil temperature. Compare this reading with moisture levels and the condition of the crop.
Rufobrunnea follows another calendar. Sown on the first day of the summer, it enters harvest at autumn cooling. Returning to Cycle
Adapt blankets to the return of light and warm days. Distinguish shade from the shelter and the protection of the beds, then choose the assembly corresponding to your culture: vegetable garden or garden.
For the fall–spring cycle, track the structure after the risk of snow. Late January or early February are frequent landmarks, to be adjusted according to your region and weather.
On the large structure, as the days warm up, restore a three-quarter shade. A dark net left in contact with the ground can speed up its warming and cause too early a start.
At this stage, commercial growers use different covers on their low tunnels than home gardeners use on their kits.
COMMERCIAL GROWERS · LOW TUNNELS
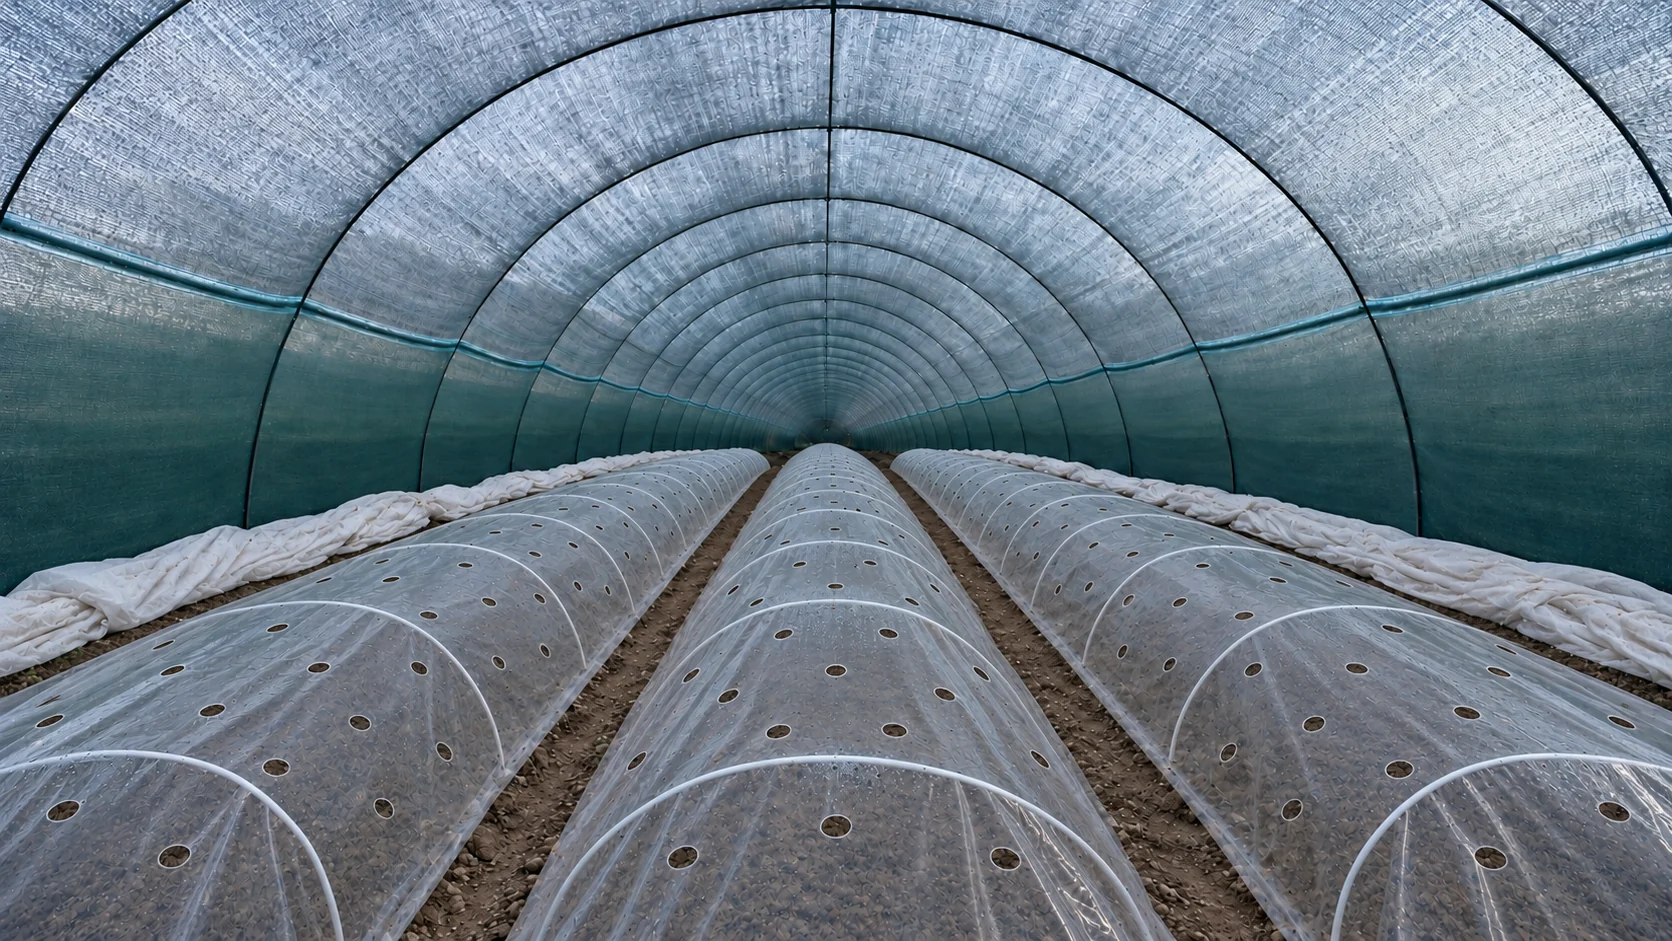
Roll the white winter row cover up along the sides of the greenhouse. The clear plastic fruiting cover, installed under the row cover after sowing and adding the bacteria, stays on the low tunnels.
This tarpaulin contains 4 cm ventilation holes spaced 50 cm apart in a staggered pattern. Monitor the heat and humidity under the cover.
Put the white row cover back temporarily if you expect rain of more than 10 mm, wind or frost, then roll it back up when conditions allow.
HOME GROWERS · GARDEN KITS
In the spring, install one layer of your black cover.
Remove the second layer used during the winter as well as the possible third hermetic layer added in addition to the material provided. In the event of weather or frost, temporarily put the second layer of textile back on, and then return to a single layer when conditions permit.
Anticipate watering and protection to follow the first primordia as soon as they appear.
Check the water arrival and operation of watering lines. The following chapter details the preparation of the watering of trigger, taking into account soil and culture.
Review the installation and water intakesTHE NEXT STEP
Find the trigger practices, the damp atmosphere to maintain and the first primordia to recognize.
GESTES IN VIDEO
Preparing for fruiting in the fieldWatch on Facebook